Uncategorized
How do I use individual Assignments?
This manual explains how to create an Assignment that must be submitted individually. For group assignments, follow this guide.
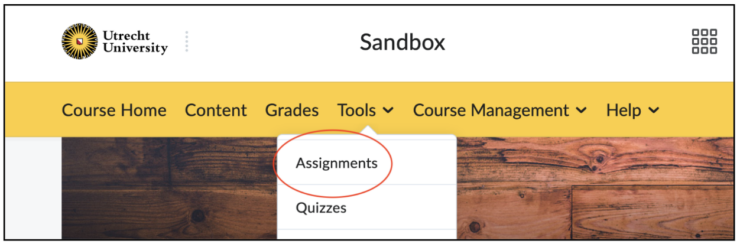
- Navigate in de Course toolbar naar ‘Tools’ > ‘Assignments’.
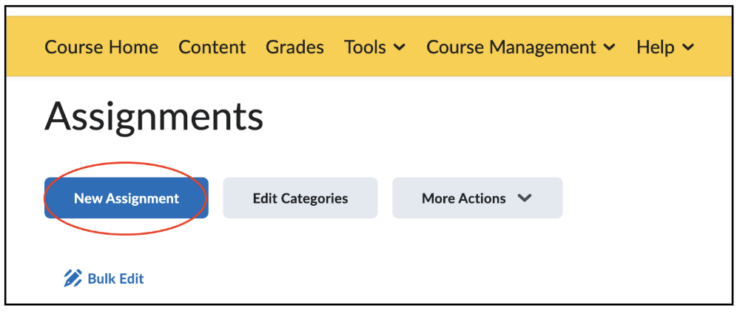
- Press the blue button ‘New Assignment’.
- You are then shown the following screen.
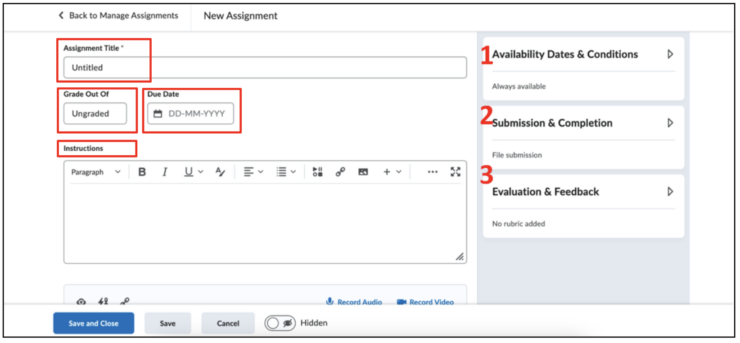
All options regarding assignments will now be briefly explained.
- Under ‘Assignment Title’, give a name to the assignment.
- Under ‘Grade Out Of’, fill out a grade.
- Under ‘Due Date’, select a date when the assignment has to be submitted.
- Under ‘Instructions’ provide the instructions for the assignment.
On the right, you are shown three boxes.
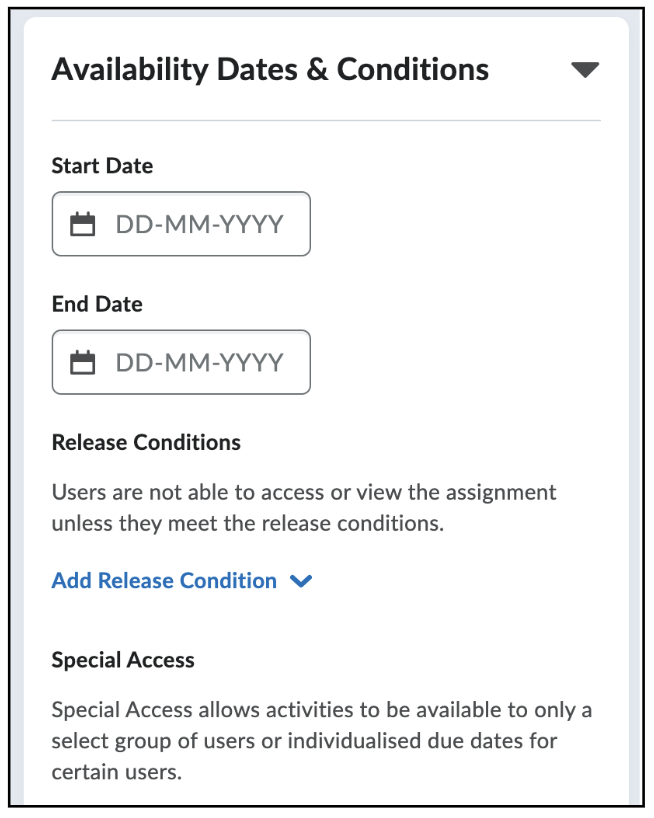
- Availability Dates & Conditions: possible to enter the start and end dates of the availability of the assignment. There are also some other ways to limit availability for certain groups or individual students. By adding a release condition, students can only view the assignment if they meet these conditions. Special Access gives you the option to make the assignment available for only a select group of students or change due dates depending on the student.
- Submission & Completion: this menu allows you to manage students’ submissions.
- Choose ‘Individual Assignment’ and choose what kind of files students can submit and how many.
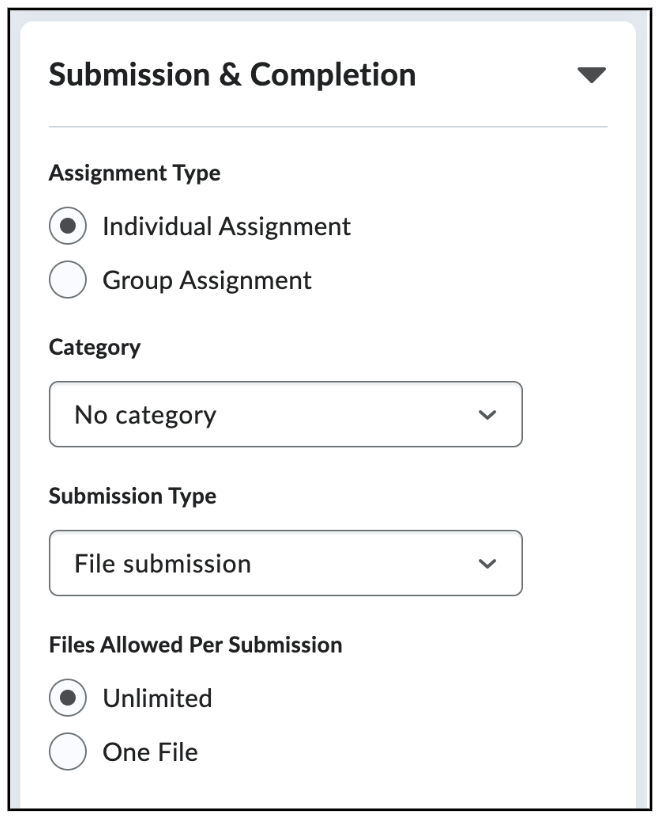
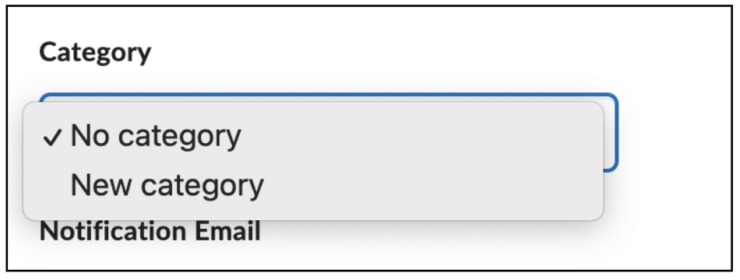
- In the drop-down menu under ‘Category’ you can choose to create a new assignment category.
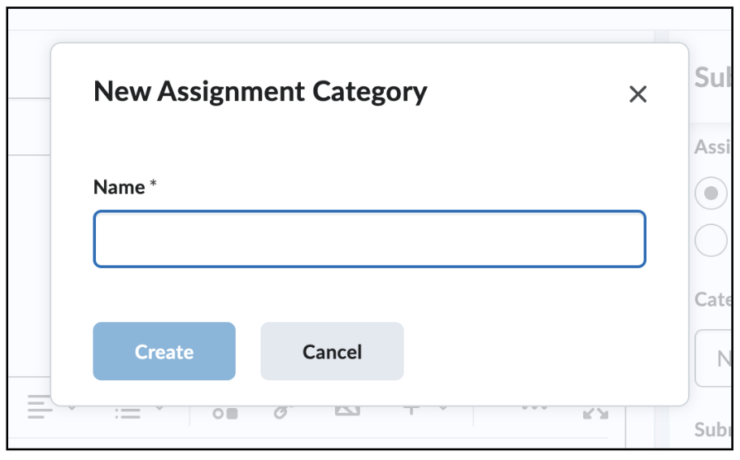
- When you choose ‘New category’, give it a name.
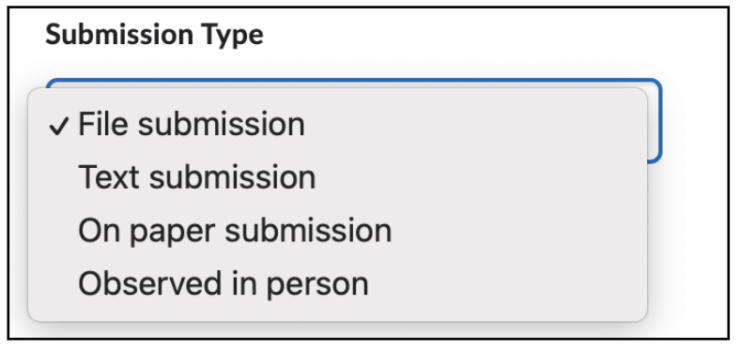
- In the drop-down menu under ‘Submission Type’, you select the manner in which the student is able to submit anything.
- Finally, under ‘Allowable File Extenstions’ you find even more restrictions.
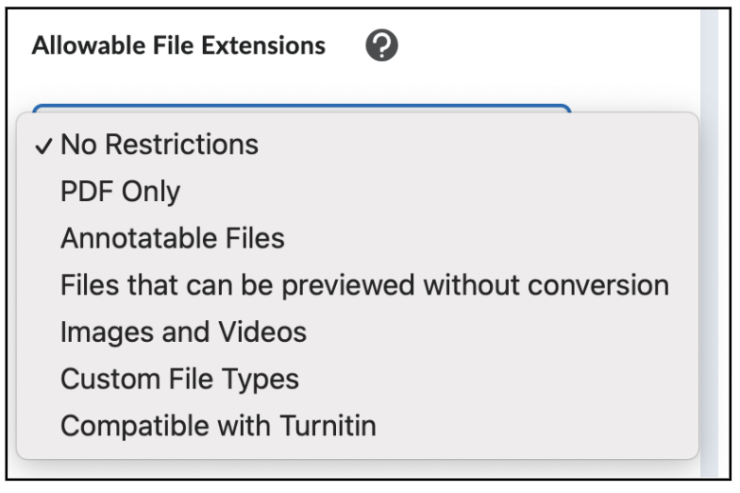
- Choose ‘Individual Assignment’ and choose what kind of files students can submit and how many.
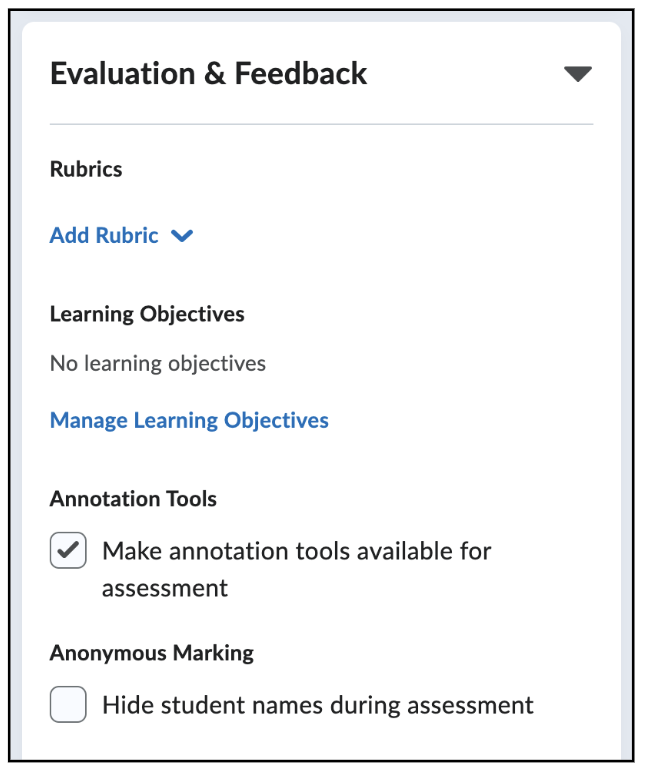
- Evaluation & Feedback: it is possible to install how the grade or feedback is displayed to the student.
After selecting your desired options, click on ‘Save’.

