Manage dates
Hoe gebruik ik Manage dates?
Manage Dates geeft de mogelijkheid om data te veranderen, op een centrale plek. Dit is vooral handig als je een cursus hebt gekopieerd in een nieuw jaar of een nieuw semester. Het zorgt ervoor dat je wijzigingen kan maken aan de toegankelijkheid van de course content aan de hand van tijd.
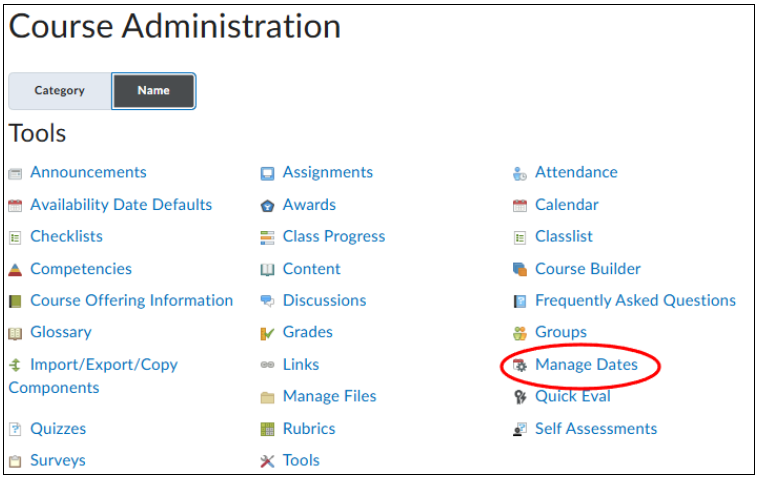
- Klik op ‘Course Admin’ in de navbar en klik vervolgens op ‘Manage Dates’.

- Je kan de startdatum en de einddatum van je hele cursus aanpassen onder ‘Course Duration’.
Let op: Dit maakt je course alleen zichtbaar of onzichtbaar voor studenten in Brightspace. Je kan ‘Specific Tools’ filteren om een lijst te krijgen met alleen specifieke tools, zoals ‘Discussions’, waar je een datum kunt instellen. Of gebruik de ‘Advanced Filter Options’ om je zoekopdracht te verfijnen.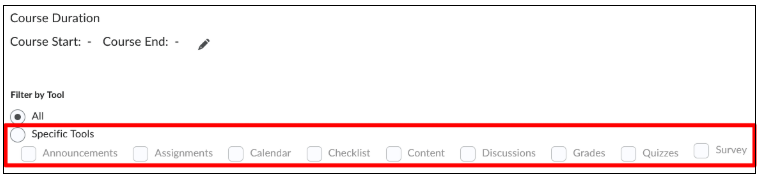

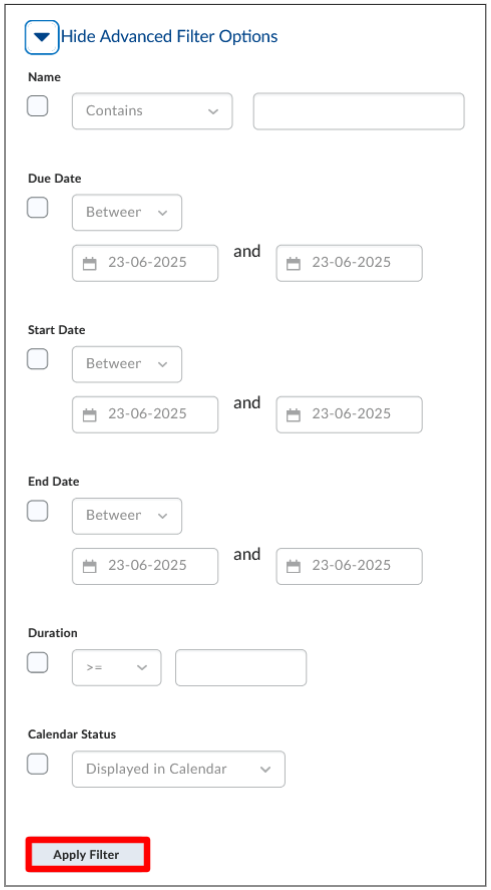
- Vink een box aan om te zoeken op:
Name (naam), due date (deadline), start date (startdatum), end date (einddatum), duration of the content (periode van de content), whether your course item is in the calendar (of de cursus in de kalender staat). - Klik op ‘Apply Filter’ om de filter(s) toe te passen.
- Door het klikken van de checkbox in de tabel kun je meerdere data aanpassen in één keer. Om alles in één keer aan te passen klik je op de box boven de tabel.
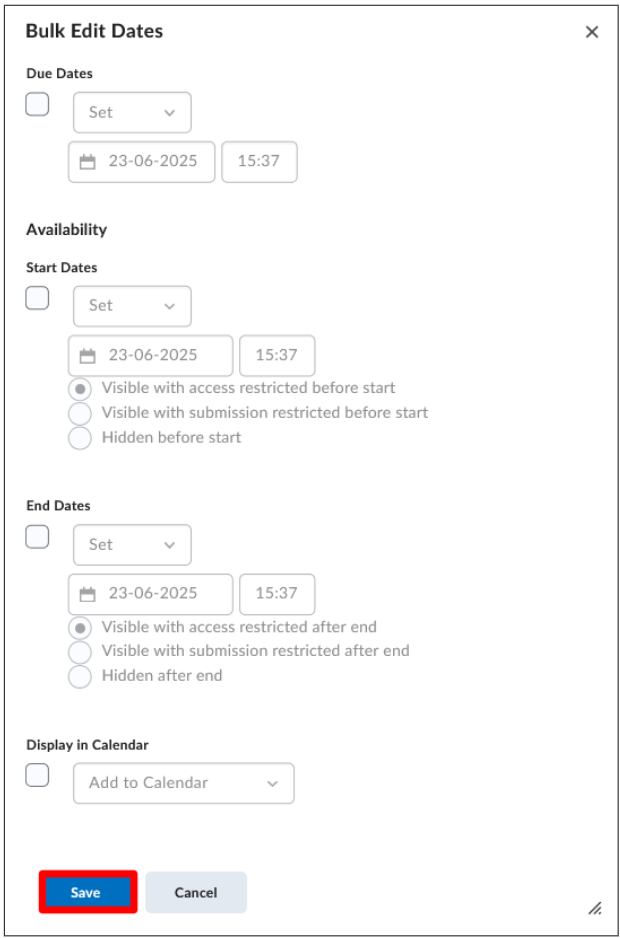
Datums kunnen worden aangepast met ‘Bulk Edit Dates’ of ‘Bulk Offset Dates’.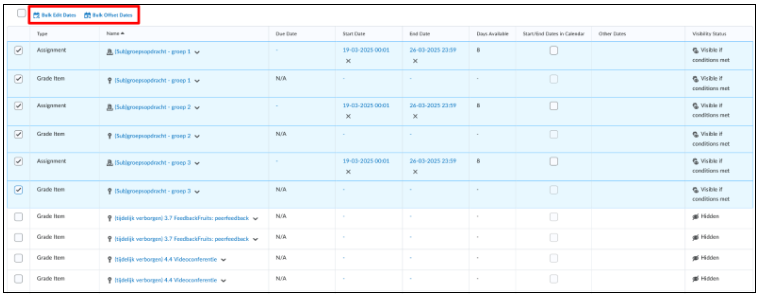 Door het kiezen van meerdere opties uit de lijst hierboven, kun je bepalen welke data veranderd moeten worden (‘Set’) of verwijderd (‘Removed’).
Je kunt ‘Due Dates’ bewerken. Geef vervolgens ‘Start Dates’ op voor wanneer content toegankelijk moet zijn. Geef een ‘End Date’ op voor wanneer content niet meer toegankelijk is. Verander ‘Data in Calendar’. Klik op ‘Save’ om je aanpassingen op te slaan.