
Use release conditions
Release conditions can be used to require students to meet a condition before gaining access to certain course materials. By using release conditions, you can create a custom path through the course content. Example:
- Students can only take the week 2 quiz if they have passed the week 1 quiz.
- Students cannot see the final assignment until they have submitted all previous assignments.
- Students are required to post to a discussion topic before a content module becomes visible.
You can add multiple release conditions to an item. Example:
- Students can only submit a final assignment if all previous assignments have been submitted, and they have scored more than 50% on all quizzes.
You can also add multiple release conditions to an item, where the student only needs to meet one. Example:
- Students can only see the week 2 materials if all week 1 assignments have been submitted, or if they have scored more than 50% on a quiz, or if they have posted to a discussion in the forum.
How do you add a Release Condition to Content?
To prevent the manuals from becoming unnecessarily long, we have split this part into his own manual. The following headings further explain what each Release Condition means and clarify information to give you the most complete picture possible so that you can fine-tune your Release Conditions as well as possible.
Important information when using Release Conditions: communicate well with your students that they are responsible for the availability of certain materials, to avoid wrong expectations of the course.
Different types of Conditions
When you create a new Release Condition, you have many choices for different Condition Types. Below is an explanation of what each type does.
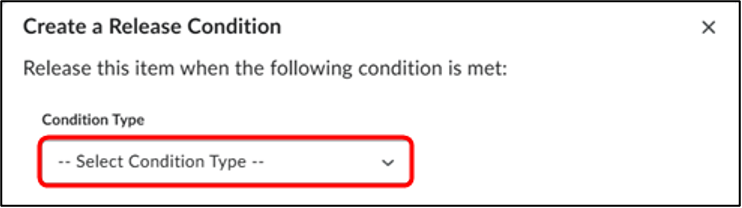
These are all the different Condition Types:
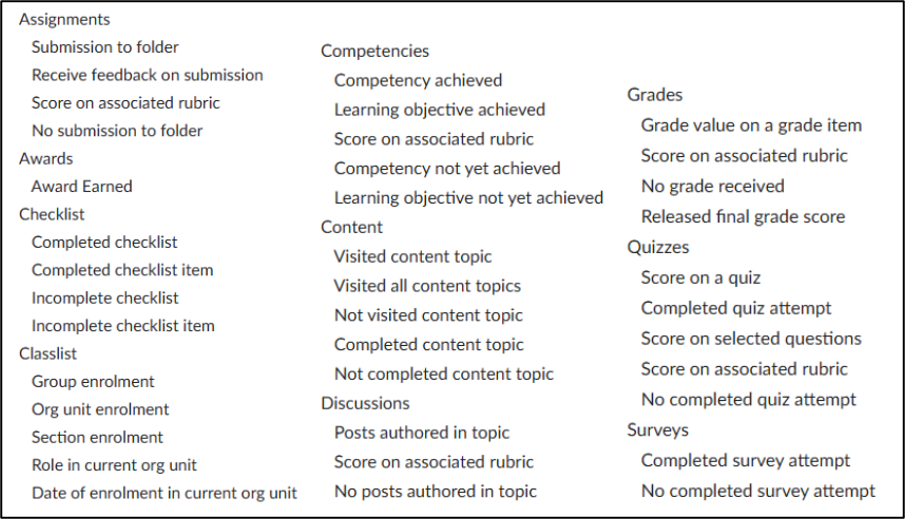
Assignments
- Submission to folder: releases the item when the student has submitted a particular Assignment.
- Receive feedback on submission: releases the item when you release feedback to the student about a particular Assignment.
- Score on associated rubric: releases the item when the student achieves a certain to be set score on a certain Rubric for a certain Assignment.
- No submission to folder: releases the item as long as the student has not (yet) submitted a certain Assignment.
Awards
- Award earned: releases the item when the student receives a certain Award.
Checklist
- Completed checklist: releases the item when the student has fully completed a certain checklist.
- Completed checklist item: releases the item when the student has completed a certain part of a certain Checklist.
- Incomplete checklist: releases the item as long as the student has not (yet) completed a certain Checklist.
- Incomplete checklist item: releases the item as long as the student has not (yet) completed a certain part of a certain Checklist.
Classlist
An org unit is a course.
- Group enrollment: releases the item as long as the student is a member of a particular group within the course.
- Org unit enrollment: releases the item as long as the student is a member of a (different) course.
- Section enrollment: releases the item as long as the student is a member of a particular section.
- Role in current org unit: releases the item as long as the student has a certain role within the course, for example Teaching Assistant.
- Date of enrollment in current org unit: Releases the item when the learner has been a member of the course for more than a certain number of days; counting from either the first enrollment or the last enrollment in the course.
Competencies
- Competency achieved: releases the item when the student has achieved a certain Competency.
- Learning objective achieved: releases the item when the learner has achieved a certain Learning Objective.
- Score on associated rubric: releases the item when the learner achieves a certain to be set score on a certain rubric for a certain Learning Objective.
- Competency not yet achieved: releases the item as long as the student has not yet achieved a certain Competency.
- Learning objective not yet achieved: releases the item as long as the learner has not yet achieved a certain Learning Objective.
Content
- Visited content topic: releases the item when the student has visited a certain other content item.
- Visited all content topics: releases the item when the student has visited all other content items.
- Not visited content topic: releases the item as long as the student has not (yet) visited a certain other Content Item.
- Completed content topic: releases the item when the learner has completed a certain other content item.
- Not completed content topic: releases the item as long as the student has not (yet) completed a certain other content item.
Discussions
- Posts authored in topic: releases the item when the student has written a certain amount of a certain type of posts within a certain Discussion.
- Score on associated rubric: releases the item when the student achieves a certain to be set score on a certain Rubric in a certain Discussion.
- No posts authored in topic: releases the item as long as the student has not written posts of a certain type within a certain Discussion.
Grades
- Grade value on a grade item: releases the item when the student achieves a certain to be set value on a certain grade item.
- Score on associated rubric: releases the item when the student achieves a certain to be set score on a certain Rubric for a certain Grade Item.
- No grade received: releases the item as long as the student has not received a grade on a particular grade item.
- Released final grade score: releases the item when the student receives the final course grade (and possibly only if that grade has a certain to be set value).
Quizzes
- Score on a quiz: releases the item when the student achieves a certain score on a certain Quiz.
- Completed quiz attempt: releases the item when the student has completed a certain quiz at least once.
- Score on selected questions: releases the item when the learner has achieved a certain score on one or more specific Learning Objectives on a certain Quiz.
- Score on associated rubric: releases the item when the student achieves a certain to be set score on a certain Rubric at a certain Quiz.
- No completed quiz attempt: releases the item as long as the student has not (yet) completed a certain quiz.
Surveys
- Completed survey attempt: releases the item when the learner has completed a particular survey at least once.
- No completed survey attempt: releases the item as long as the student has not (yet) completed a certain Quiz.
Manage Dates
With Manage Dates, you can view dates (Due Date, Start Date, and End Date) that you have associated with items under Content and Activities, change them on a per-item basis, change multiple items at once, and add or remove items from the Calendar. You can also see and align the data in the calendar, announcements and grade items.
The advantage of Manage Dates is that you can edit all dates from a central location. This is also useful if you have copied a course to a new semester or year. In addition, in Manage Dates you can see at a glance which items are visible to students and under what conditions they are visible.
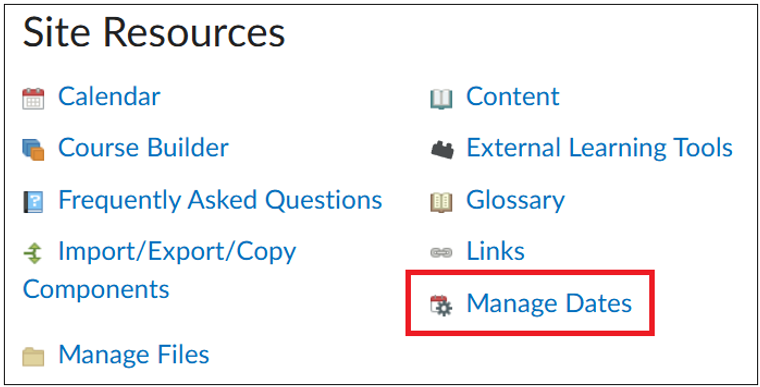
- Click on Course Admin in the navbar.

- Click Manage Dates under Site Resources.
- You’ll see a long list of all the items in your course.
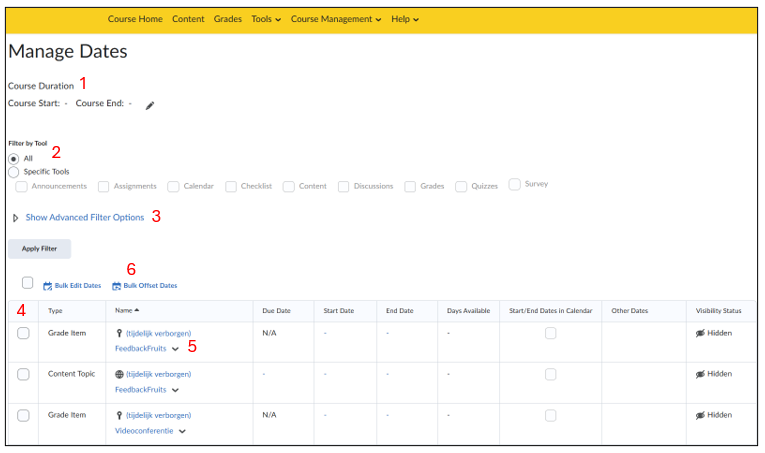
- Under Course Duration, you can adjust the start and end date of the entire course. Note: this only ensures whether or not students can see the course in Brightspace.
- Under Filter by Tool, you can check specific course components that you want to view.
- Check the desired tool(s) and click Apply Filter.
- Under Show Advanced Filter Options, you can also filter by name, date (Due, Start, or End Date), duration, and Calendar status.
- In the table you can see the (filtered) course components. You can sort the items in each column. To do this, click on the title of the column (Type, Name, Due Date, Start Date, End Date, Days, Calendar, Visibility Status). Note: Other Dates cannot be sorted. Below is when you created a submission view or report for a quiz or a survey.
- In addition to managing data, you can open any course section in Manage Dates. To do this, click on the name of the part. A new window opens the edit page of that item.
- You can use Bulk Offset Dates to reschedule course components to the next term or semester. This option is also useful if you have imported a course or course components from another course, because you can easily set the data of these components to the same level.
Availability of your Content, Grades, and Tools
Content
Content can be made available or hidden in a variety of ways.
- The first way is with Release Conditions.
- The second way is with Manage Dates.
- The third way is to manually select Content to hide.
Grades
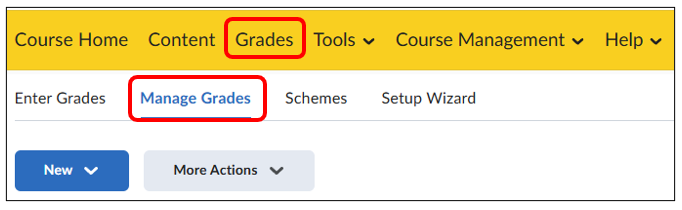
- To make a Grade Item available or hide it in one of three ways, go to the Grades page. To get there, click on Grades from the course homepage, and then click on Manage Grades.
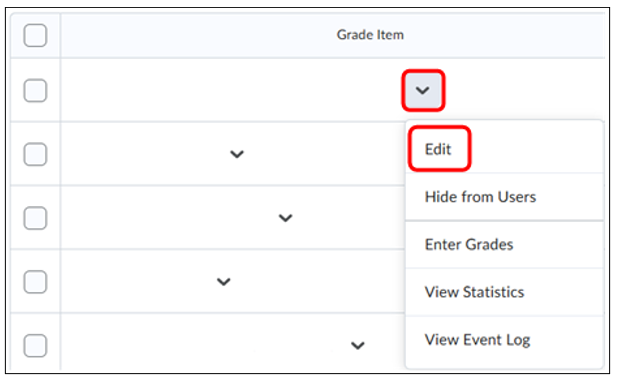
- Open the submenu next to a Grade Item and click Edit. (The name of the Grade Items have been removed in the image below).
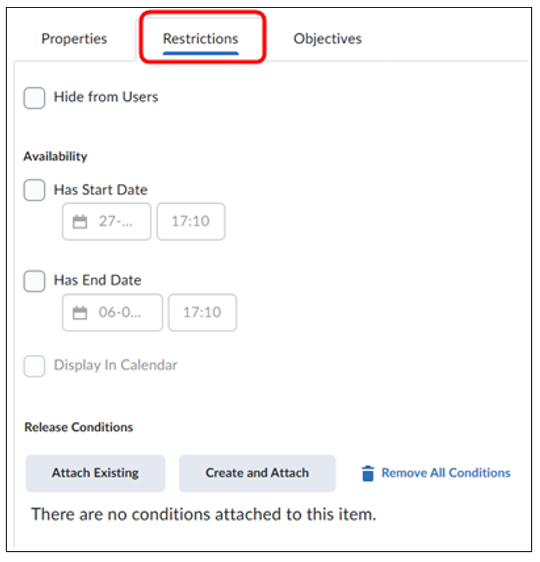
- Click Restrictions. Here you can use option 1, Release Conditions; option 2, with Dates; or option 3, manually; to adjust availability.
Activities
Activities are a subset of Content, so you can make Activities available/hidden in a similar way. There is another way to hide the Activities manually. You can adjust the visibility on the page about the relevant Activity, such as Assignments, Quizzes or Discussions. In this example, we are going to do this for an Assignment, but it can be done for any Activity.
- From the course homepage, access Assignments via Tools in the menu bar.
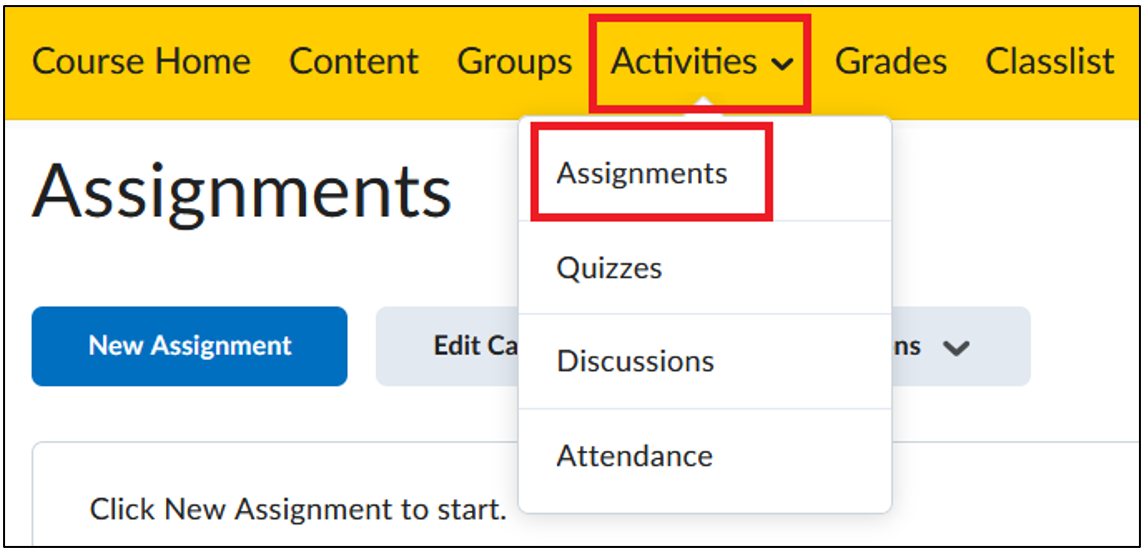
- Then open the submenu next to an Assignment and click on Hide from Users. (The name of the Assignment has been removed in the image below). You can make the Tool visible again in the same way. The button is then called Make Visible to Users.
