
Create and add awards
Manual Course Content and Activities
In this article, you can find how to create or add an Award to your course.
- How do I add an Award to my course?
- How do I create an Award for my course?
- How do I edit an Award?
- How do I download an Award?
What is an Award and when do you use it?
In Brightspace, you can earn an Award by meeting pre-set criteria within a course. An Award is usually a badge or certificate that you use to reward student achievements, progress, or behavior.
As a teacher, you can set a student to automatically receive an Award if, for example, they meet certain conditions:
Think of getting a certain score on a quiz or assignment, for example: “At least a score of 80% on the final test”, or completing an activity, for example: “All powerpoints of week 3 have been viewed”.
How do I add an Award to my course?
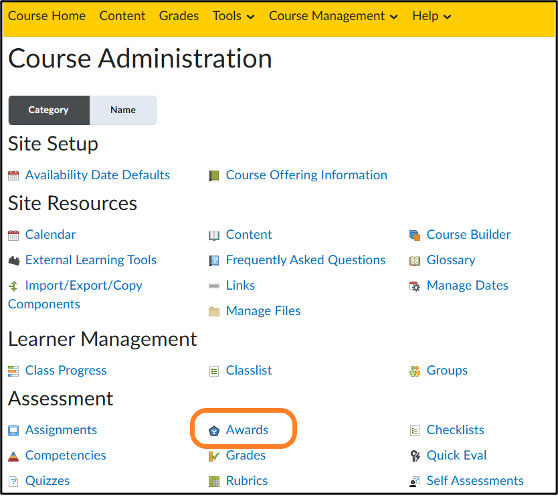
- Navigate to ‘Course Management’ in the navigation bar of your course.
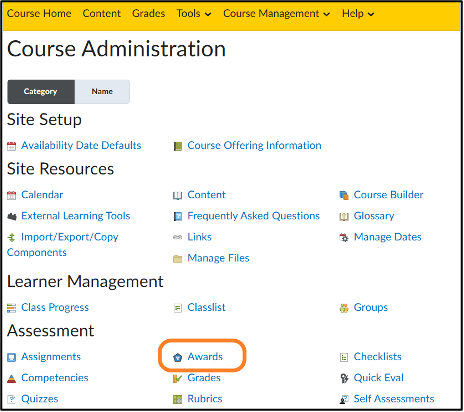
- Click on ‘Course Admin’ and scroll down to Assessment.
- Click on ‘Awards’.
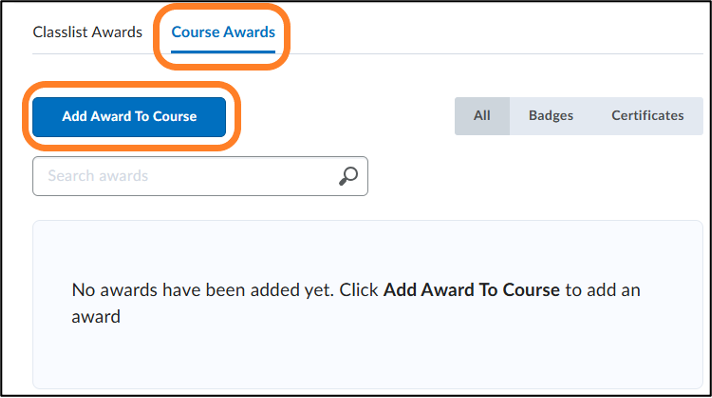
4. Click on ‘Course Awards’ (second tab). Here you can find all Awards that are used in this course.
5. Click ‘Add Award To Course’ to create a new Award and/or add it to your course.
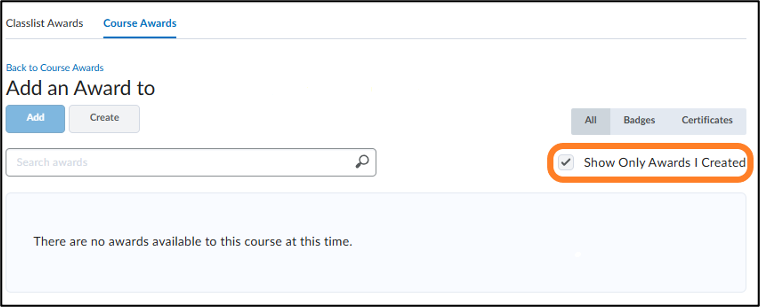
6. You will see an overview of existing Awards that you can add to your course. These are Awards that you have previously created, or that have been created by colleagues and made accessible for others.
7. Use Search Awards to easily find the Awards you want.
8. Click on Show Only Awards I Created if you want to only view your own Awards.
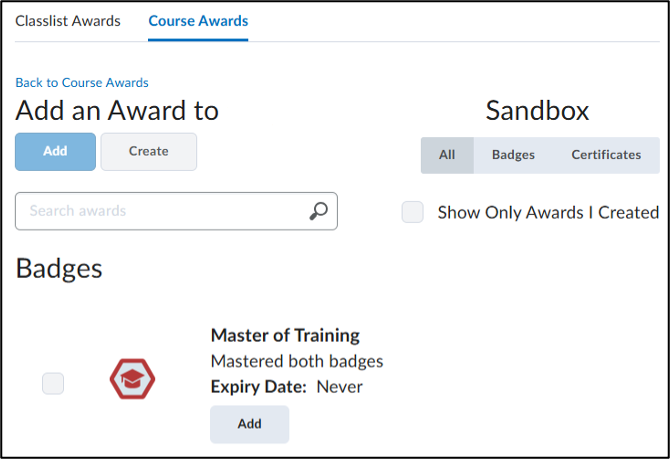
9. Select an already existing Award to add it to your course.
10. Then click ‘Add’. Awards you have previously added to your course will have a check mark.
How do I create an Award for my course?
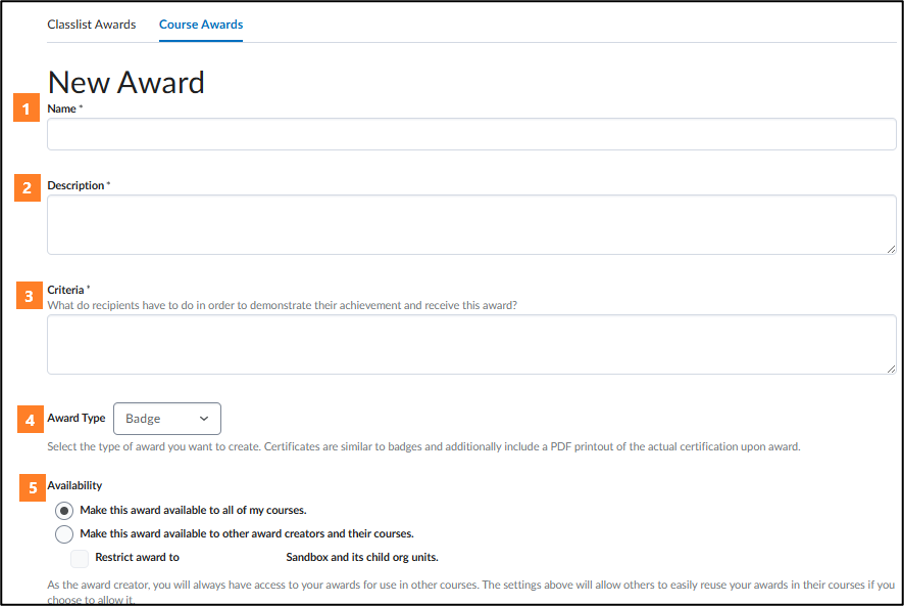
- Click ‘Create’ on the ‘Add Award To Course’ page to create a new Award. You will now navigate to the New Award page.
- Give the Award a title.
- Use Description to describe what the Award entails, i.e. why students deserve this Award.
Students can see this description.
3. Use Criteria to describe what tasks the students need to fulfill in order to prove their achievements and to receive this Award. However, this is not visible to students. They can only access the Award page if they have already won an award themselves and therefore only see those who have won them.
4. Award Type allows you to select what kind of award it is:
- Badge: The default option; the award is purely cosmetic.
- Certificate: The award comes with a PDF-certification.
5. Use Availability to select who can use this Award:
- Make this Award available to all of my courses: only you can use this Award in all your courses.
- Make this Award available to other creators and their courses: other teachers can use this Award in their course.
- Select Restrict Award to [current course] and its child org units if other teachers can only use this Award in the current course.
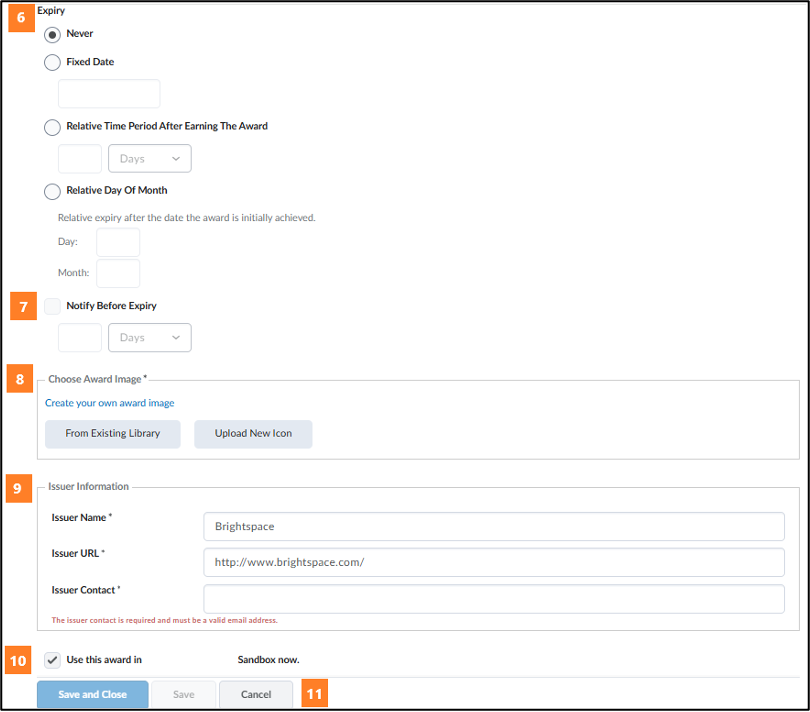
6. Select whether the Award can expire using Expiry.
- Never: the Award cannot expire and will always remain visible for the student.
- Fixed Date: the Award will expire on a certain date at midnight. Note that when the Award expires it becomes transparent for the student.
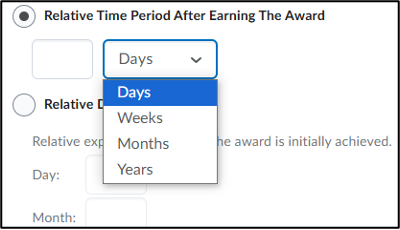
- Relative Time Period After Earning The Award: the Award expires a certain amount of time after it was awarded. You can use the drop-down menu to select whether it should be days, weeks, months, or years. Use the field to fill out the number of days/weeks/months/years.
- Relative Day of Month: the Award expires a certain amount of days and months after it was awarded. Note that is you do not specify a day, the Award will expire on the last day of the specified month.
7. Below Notify Before Expiry, select if you want students to be notified a certain amount of time before the Award expires. You can use the drop-down menu to select whether it should be days, weeks, months, or years. Use the field to fill out the number of days/weeks/months/years.
8. Use Choose Award Image to choose the image for your Award:
- Click From Existing Library to use an image from your database.
- Click Upload New Icon to use an image from your computer.
Note: the ideal size is 100×100 pixels
- Click Create your own image to create a new Award.
9. Use Issuer Information to enter information about who the issuer of the Award is:
- Issuer Name: this is the person that issues the Award. When you share the Award with co-workers and/or use it in multiple courses, it can be useful to choose a simple name.
For example; UU, or the name of the course or faculty.
- Issuer URL: this is the correct URL by default (http://www.brightspace.com/)
- Issuer Contact: fill in system_noreply@brightspace.com
10. Select Use this Award in [current course] now to immediately add the Award to the current course.
11. Click on Save and Close to save the Award and return to the Course Awards page. You will now see the new Award in your overview.
Note:
If you chose Make this Award available to other creators and their courses, then all teachers at UU can use and edit this Award.
When you modify an Award, the change will be visible in every course that it is used in, including Awards already allocated to students.
As the creator of an Award, you will always have access to all the Awards you have created, regardless of the course you created them in.
How do I edit an Award?
- Navigate to ‘Course Management’ in the navigation bar of your course.
- Click on ‘Course Admin’ and scroll down to Assessment.
- Click on ‘Awards’.
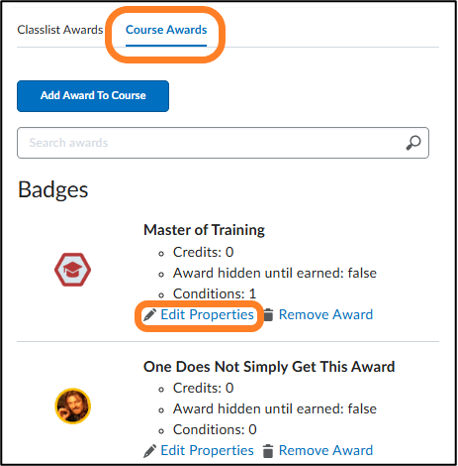
4. Click on ‘Course Awards’ (second tab). Here you can find all Awards that are used in this course.
5. Click ‘Edit Properties’ below the Award you want to edit.
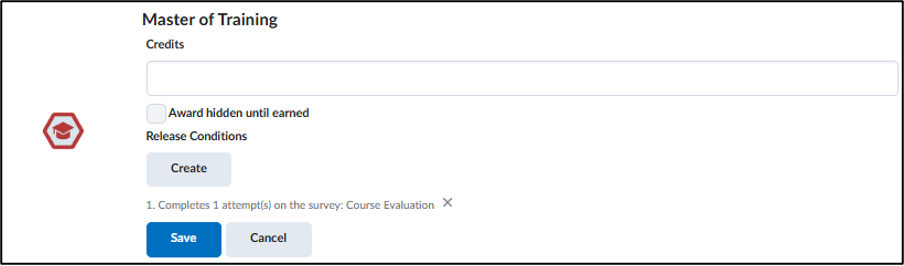
6. In the next screen, edit the Award:
- ‘Credits’: Fill in how much credit a student can earn with this Award.
- ‘Award hidden until earned’: The Award will be hidden from a student until they have satisfied all requirements.
- ‘Release Conditions’.
- When you are done editing, click on ‘Save’.
How to download an Award
Students can download Awards that they have earned.
- When clicking on the ‘Subscription Alerts’ icon, you will see the notification of the award you just received.
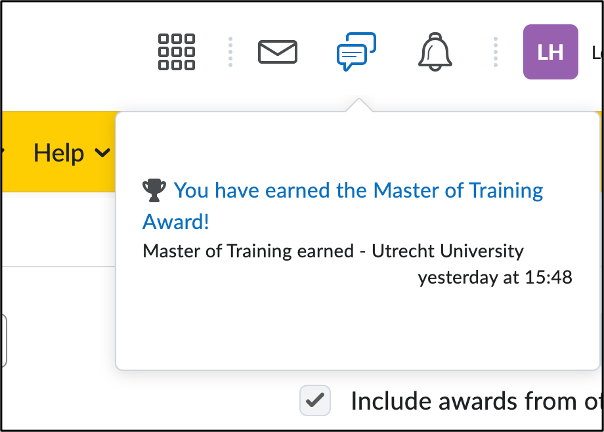
2. After clicking on this, you will be met with the following screen.
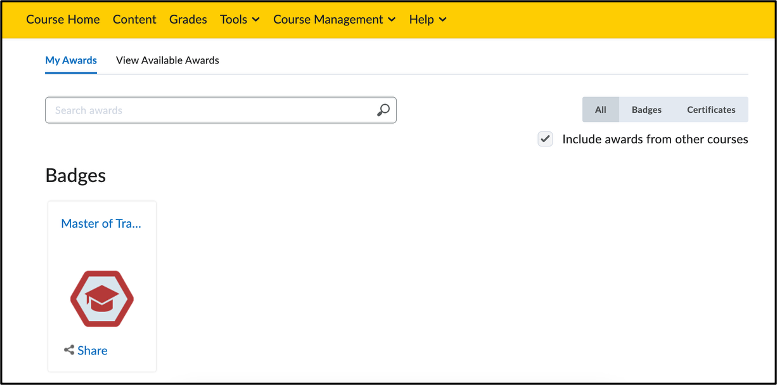
3. You can now click on the award. This will cause a window to pop up.
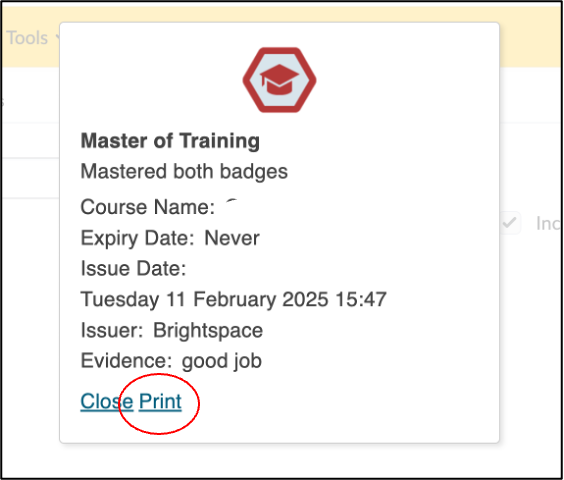
4. By clicking on ‘Print’, you are now able to download a PDF of the award, or even print it out.