
Make a survey
Surveys can be used to gain insight into how students rate your course. Possible topics for the survey can be feedback on the workload, literature, and/or the examination or assessment. You can opt for anonymous surveys, but you can also link the responses to the names of your students.
How to make a survey
- Klik op ‘Course Admin’ in de navigation bar

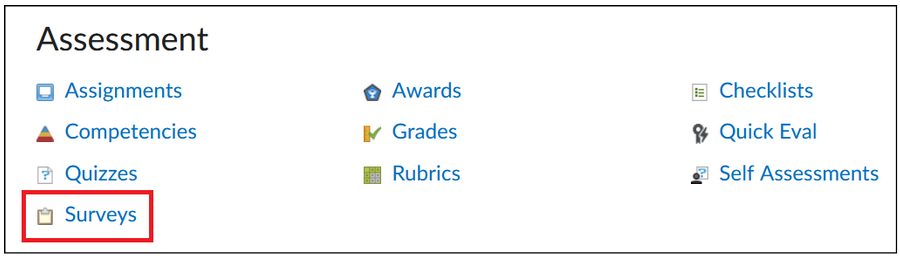
- Klik onder ‘Assessment’ op ‘Surveys’
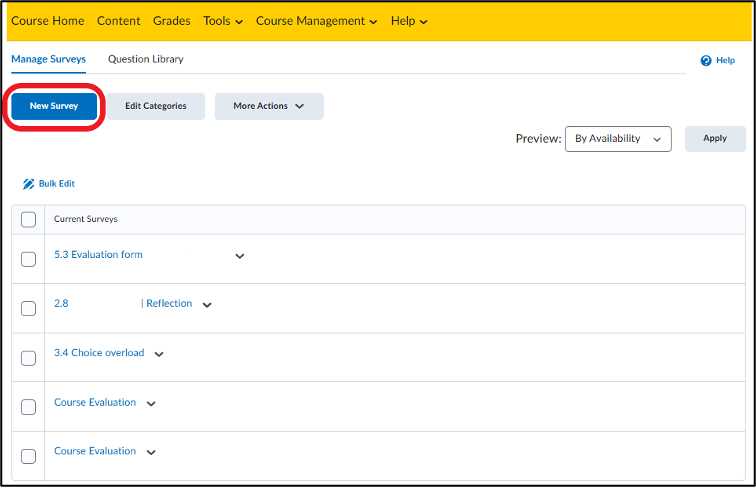
- The page will give an overview of all the existing surveys within the course.
- Use ‘Bulk Edit’ if you want to change the name, category, access and deadline for several surveys. Click on ‘Bulk Edit’, change the desired settings and click on ‘Save’.
- Click on ‘New Survey’ in the top left corner to make a new survey.
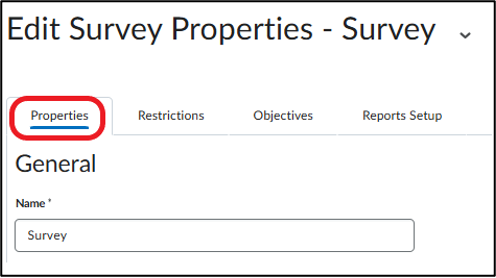
In the following screen, you will see:
- Properties: Edit the properties of the survey. See below for more.
- Restrictions: Set a deadline and time. This is only possible after the survey has been named.
- Objectives: This tab is currently not in use and therefore can be ignored.
- Reports Setup: Generate a report. This report can be used to easily share data from a survey with others that usually do not have access to the survey’s statistics.
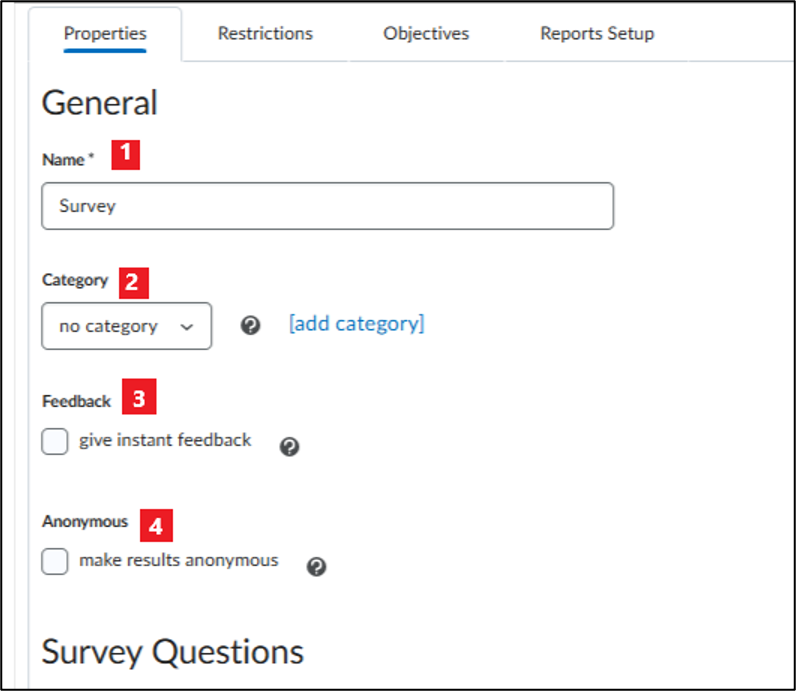
Editing the properties of a survey:
- Name: Give the survey a name.
- Category: If you link a category to a survey, you can group the surveys by categories on the Survey Overview page.
- Feedback: Provide a student with instant feedback (that has been written previously) the moment they have filled in a question.
- Anonymous: This option suppresses the display of user data in the survey results. People who can view the survey results will be able to see the responses without any link to the person who submitted the response.
When this option is selected, it cannot be unselected.
This option is not available when release conditions are added to the survey.
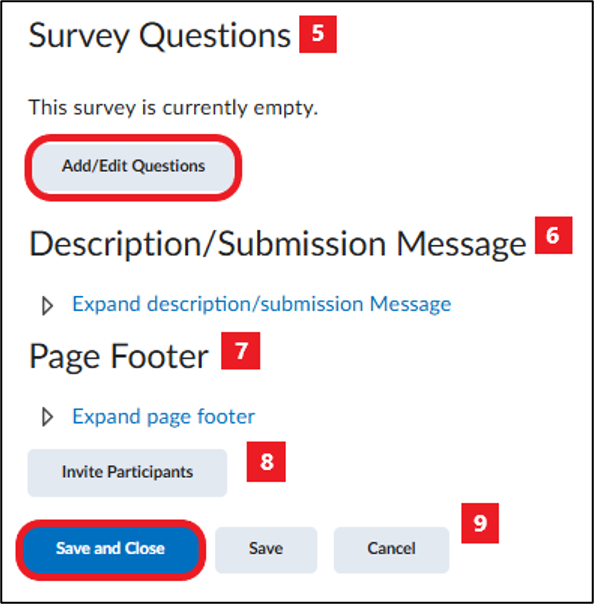
- Survey Questions: Click ‘Add/Edit Questions’ to add questions to the survey or to edit questions. For more information, read the manual ‘How do I edit the questions in a survey?’.
- Description / Submission message: Click on ‘Expand description/submission Message’ to add a message. A ‘description message’ will be visible to students before they fill in the survey and a ‘submission message’ will be visible to students after they have filled in the survey.
Note: Do not forget to click ‘On’ to make the message visible to students. - Page footer: Click on ‘Expand page footer’ to add a footer to the survey. The footer will be visible at the bottom of every page of the survey.
Note: Do not forget to click ‘On’ to make the footer visible to students. - Invite Participants: Give students access to the survey, without having to log in. Brightspace will send an email with a link to the survey to the participants. You will need to fill in a subject, a message and one or more email addresses. See below for more.
- Click on ‘Save and Close’ to return to the homepage for the surveys.
Once you add or create new questions, the ‘Survey Questions’ heading will change on the Edit Survey page.
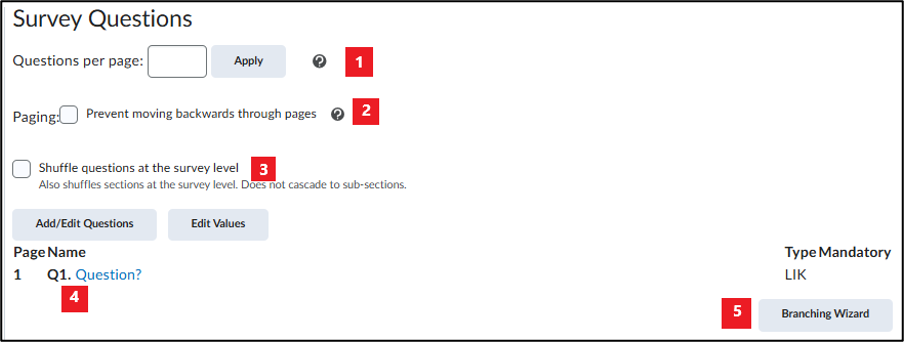
- Questions per page: Indicate how many questions are displayed per page. If you do not fill in a specific number (and confirm this by clicking ‘Apply’) the survey will be displayed on one page.
- Paging: With this option, students are able to view previous pages.
- Shuffle questions at the survey level: Use this option to prevent students from seeing all the questions in the same order.
Sections will be shuffled, not sub-questions.
4. PageName: Click here on a question to see a preview.
5. Edit Values:
6. Create a path within your survey using ‘Branching Wizard’. Students will then answer questions in a set order and will only see one question per page. You will not be able to shuffle questions when you have selected this option (and will receive a notification if you have previously selected this option). Fill in the order of the questions by indicating which questions lead to what question after a certain answer or that the survey will end after a certain answer. Click ‘Save’ to return to the ‘Edit Survey’ page.
Branching only works with multiple choice and true/false questions.