Edit groups
- Click on Course Admin in the navbar of your course

- Click on Groups under the Learner Management heading
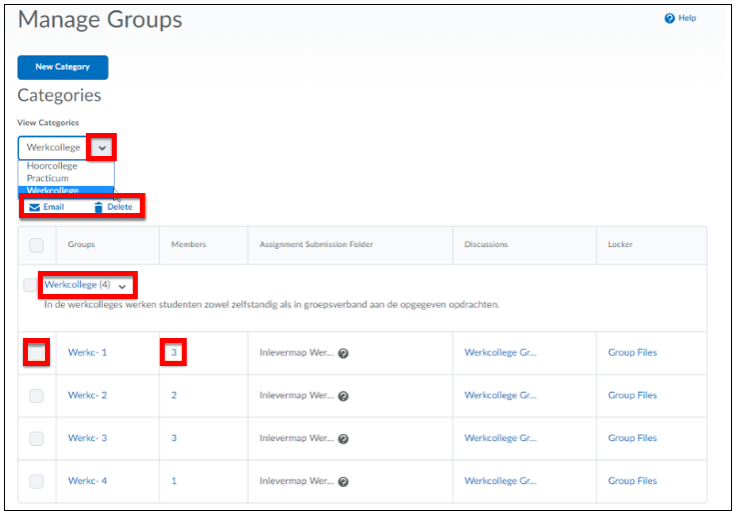
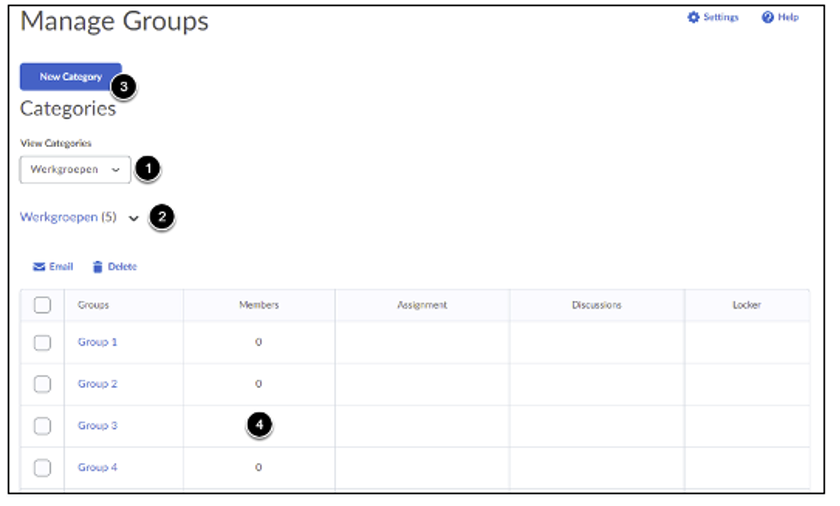
- Click on the arrow below View Categories to go to a specific category and see the groups it contains.
- The number behind the name of the category (Werkgroepen serie 1 (6)) indicates the amount of groups that are currently in said category. The arrow behind the name of the category allows you to:
- Edit the category (Edit Category). You can use this function to add a discussion topic or locker when you have already created the category and did not add them initially.
- Add a group (Add Group).
- Add students to groups (Enroll Users). This option will open a screen that enables you to enroll the students from the classlist in the groups in this specific category.
- If you want to create another Group Category (for instance for a lecture or practical session), you can click on New Category and repeat the steps that are explained above.
- Click on the number in the Members column to see which students are enrolled in a group.
- If you want to delete a group or send every member of a group an e-mail, you simply check the box for a specific group and select either Delete or Email. Note that when you send an email, all the recipients’ email addresses will be in the BCC field to ensure the privacy of the students.
- You can change and/or add a description of a group by clicking on the name of said group.