
Use and manage Classlist
View Classlist
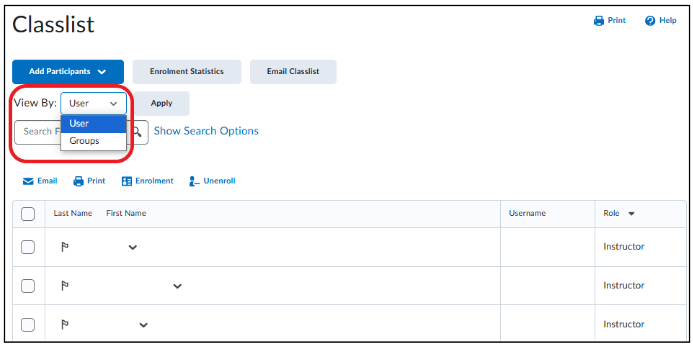
- Go to ‘Classlist’ in the navigation bar of your course.

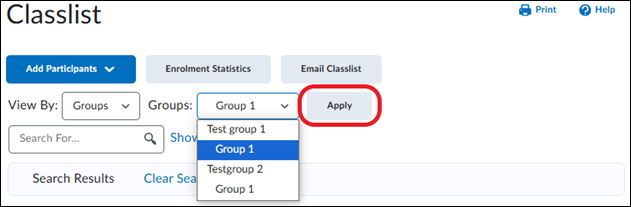
- Here you can find an overview of all students and staff in a course. The role of a person is displayed below Role. You can filter users on group by clicking on the drop-down menu next to View By. Click ’Groups‘, then on ’Apply’. Next to Groups you can select the group on which you want to filter.
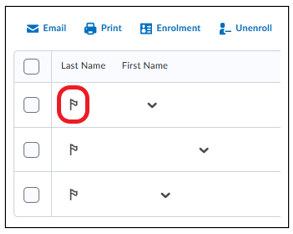
- You can also flag people. You can do this by clicking the flag icon next to the name of the user. You can flag someone if you want to be able to find them easily.
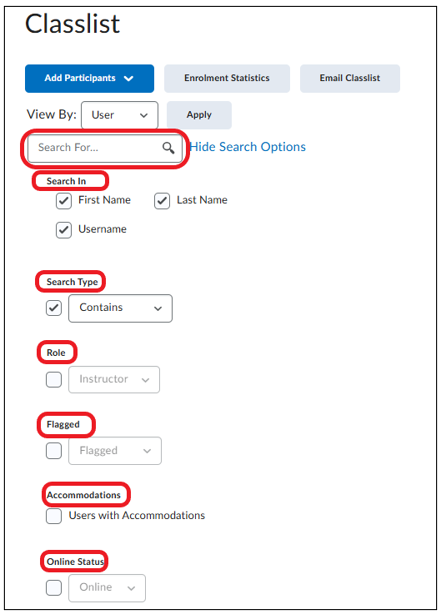
- You can search for specific students/staff by typing the person’s name in the search bar (Search for). Click on ‘Show Search Options’ for a more specific search.
- Search in: Select this option if you are searching by first name, last name and/or username.
- Role: Search by role.
- Flagged: Search for flagged/unflagged persons.
- Users with accommodations: Search for users with Accommodations.
- Online status: Search for users that are active/non-active.
- If you only want to see teachers or students, click on ‘Role’.
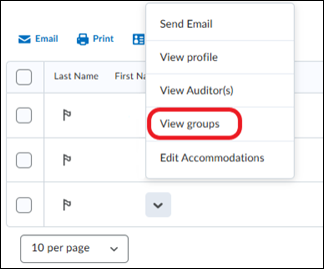
- You can also see which groups a student is in, when you click on the fold-out arrow next to the name. Click on ‘View groups’. A new window opens in which you can see in which group(s) the student is.

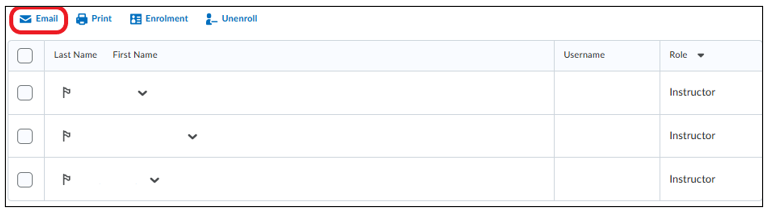
- You can also e-mail (specific) students through the Classlist. Select the student(s) you wish to email or select all students by checking the small square next to ‘Last Name’. Click on ‘Email’ just above the table.
Overview course enrolments
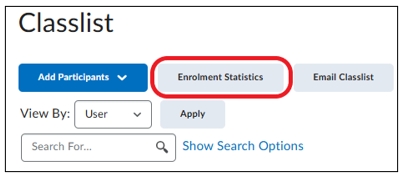
- Click on ‘Enrolment Statistics’ for an overview of enrolments and un-enrolments.
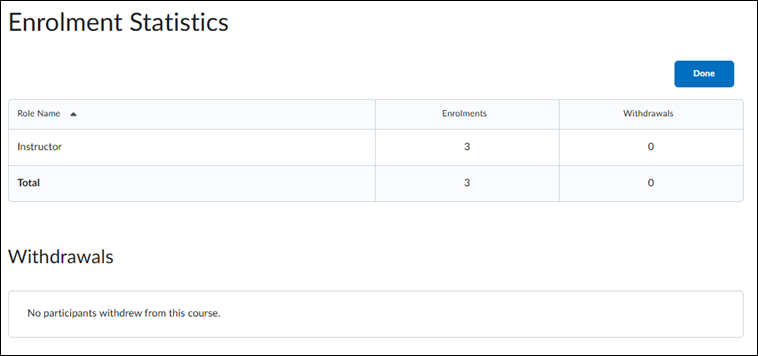
- The overview shows all possible roles and how many people with a certain role are in your course. For example, you can see how many students are enrolled and how many have withdrawn. You can still e-mail people who have un-enrolled.
Export Classlist
You can export a list from the classlist through Grades export in the Gradebook.
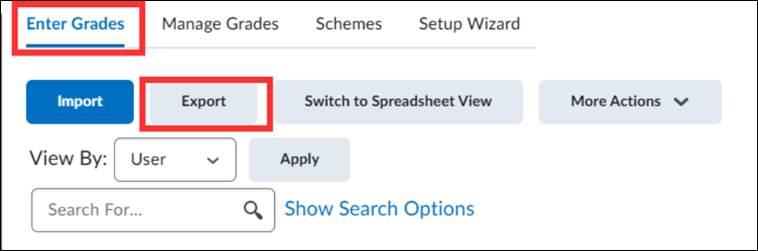
- Navigate to ‘Grades’ in the menu bar.

- Click on the tab ‘Enter Grades’ and then click on ‘Export’.
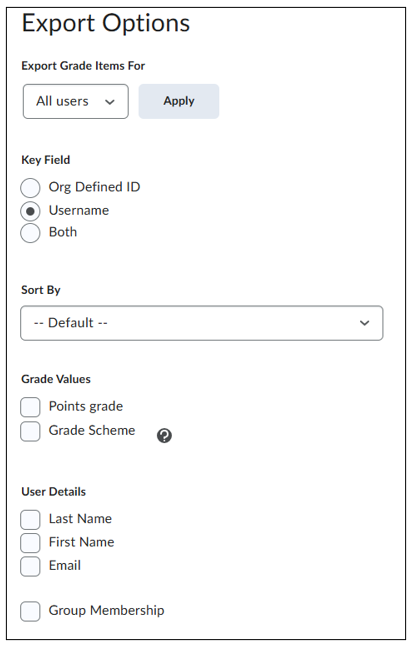
- First select which users you want to export, choose between All users or Groups. Select ‘All users’ if you want to create a list of all the participants in your course and select ‘Groups’ if you wish to create a list of a group. Use the dropdown menu to select the specific group.
- Key Field: here you can select ‘Org defined ID’ to get the solis-IDs, ‘Username’ to get the last names or ‘Both’ to get both.
- Sort By: here you can pick how you want the list to be sorted from the drop-down menu.
- Grade Values: here you can decide whether to add grade value to the list by checking or unchecking the boxes of your choice, namely:
- “Points grade” = the number of points the student received, and/ or
- “Grade scheme” = the symbol (actual grade) the student received for that grade item according to the used grade scheme.
- User Details: here you can check boxes of information you want to include, like ‘First Name’, ‘Last Name’, ‘Email’ or ‘Group Membership’. ‘Group Membership’ can be used to create an overview of all the groups.
- Then you are ready to download the list. You can either download as a CSV file or an Excel file.
